| Preparing resin before painting | |
|---|---|
Painting a white metal figure and a resin one has no big differences. However, they are some differences in their previous preparantion.
|
|
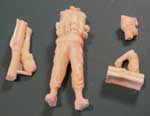 |
The most evident difference is the spare resin. This surplus is essential in order to produce a resin figure and even if much of that remaining resin was removed in the factory , the rest will have to be removed at home.
|
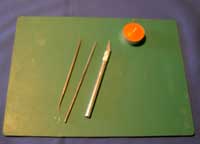 |
In order to remove the spare resin you just need a sharp stylus, a candle or a burner, a working board and a sander.
|
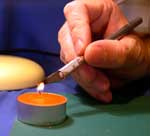
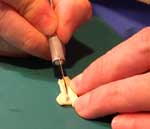
You will use the flame to warm the blade of the stylus, and therefore the hot metal will cut the resin easily, removing the remaining resin from the figure. |
|
 |
 |
|---|
Then you will have to file and sand down the mould lines as usual. |
|
|---|---|
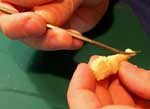 |
Once the figure is ready, you will add the final touch with putty if there is some little bubble. |
The figure is ready now. You will wash it with soapy water and once dry you will be able to paint it. |
|
| Big sized pieces | |
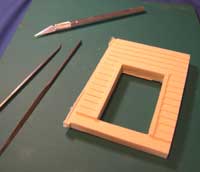 |
When you have a piece of considerable size, such these of vehicles or stages, it is advisable to use a different technique, which will be much more easy and simple. In this case, you will only need your stylus which will have its point slightly cut. |
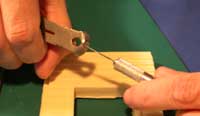 |
Use it as usual, but with the cutting edge upside-down like if it were a burn. |
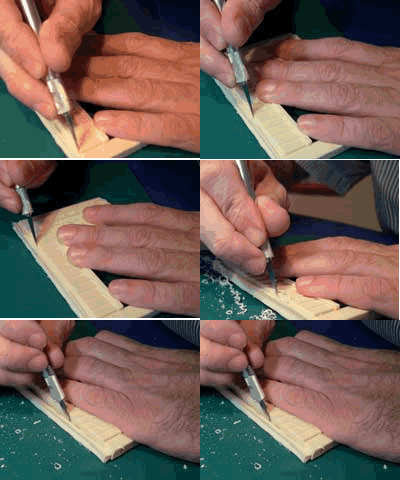 |
|
You will make a groove with this improvised tool on the cutting line of the piece several times. Then the piece will be removed form the spare resin. |
|
NIMIX. APARTADO DE CORREOS 45.117. MADRID 28080. (SPAIN)
TEL/FAX: 00-34-91 352 81 39
